The Installation varies slightly depending on what kind of CLUG you got, choose from the list below to see the relevant instructions:


We've got all of our press ready assets like logos and product photos on our press page.
Check it out!

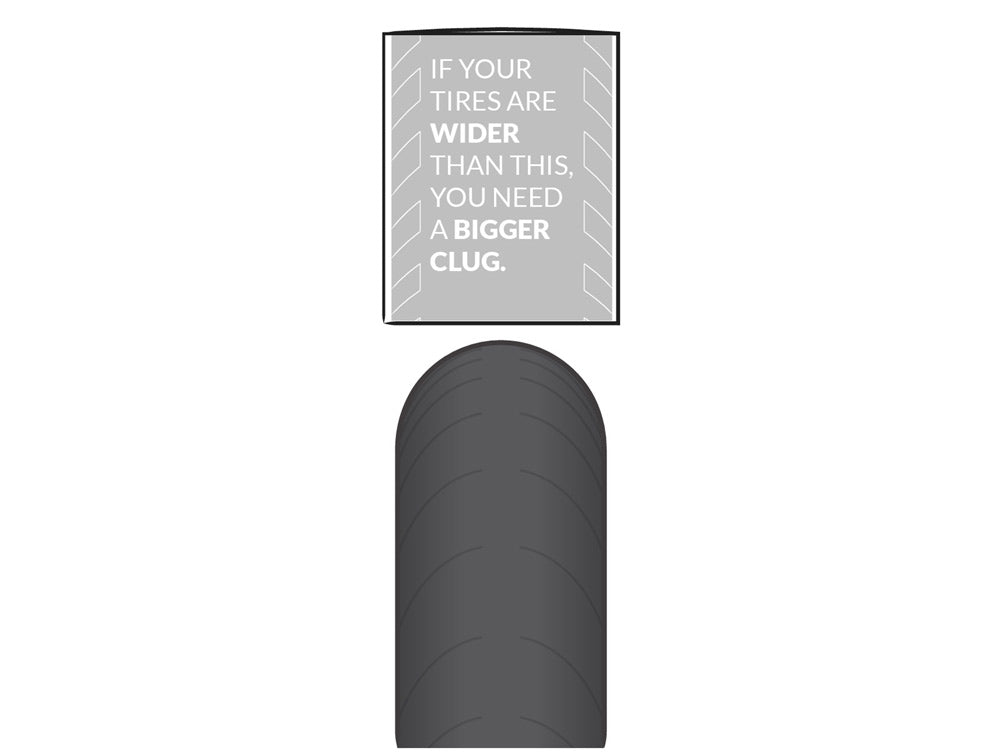
If you haven't already, you'll need to check that the CLUG you got is the right size for your tire. We have all of the information on the sizing page.
As a handy guide, we also put the maximum and minimum sizes for each CLUG right on the side of the box. Just hold it up to your tire and check to see that it is within the range.
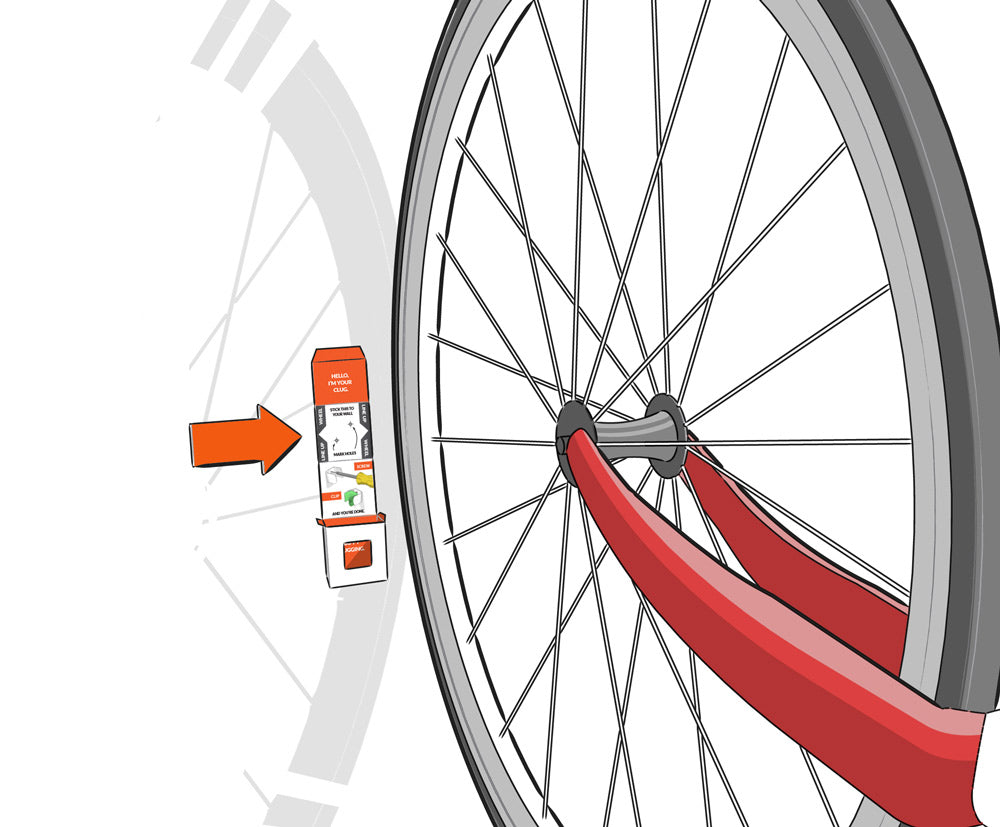
Time to figure out where your CLUG is going. Once you've found your section of the wall, you can use the alignment guide on the box to get your hole spacing marked precisely.
Holding your bike in the position you want it (you can get a friend to help here), you'll want to align the position of your CLUG with the centre of your wheel, where the tire touches the wall.
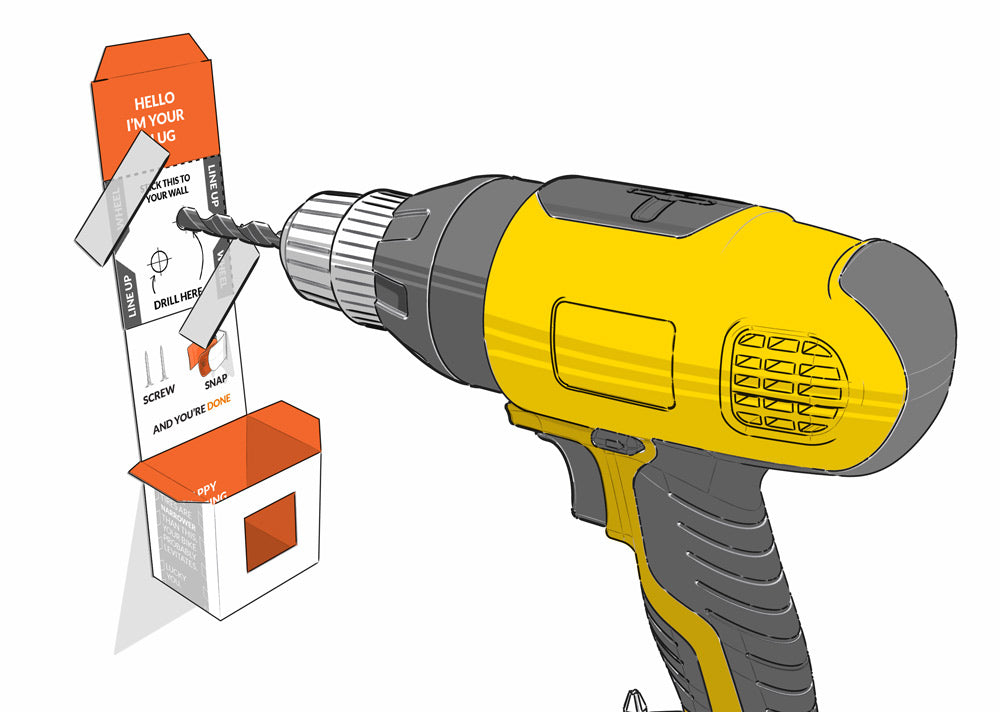
You'll need to drill some holes if you are putting CLUG on anything other than wood surface (or a stud in the wall) (no, not that kind of stud).
To drill, just stick your template lightly to the wall and drill right through the guide.
The box will help catch the dust too!
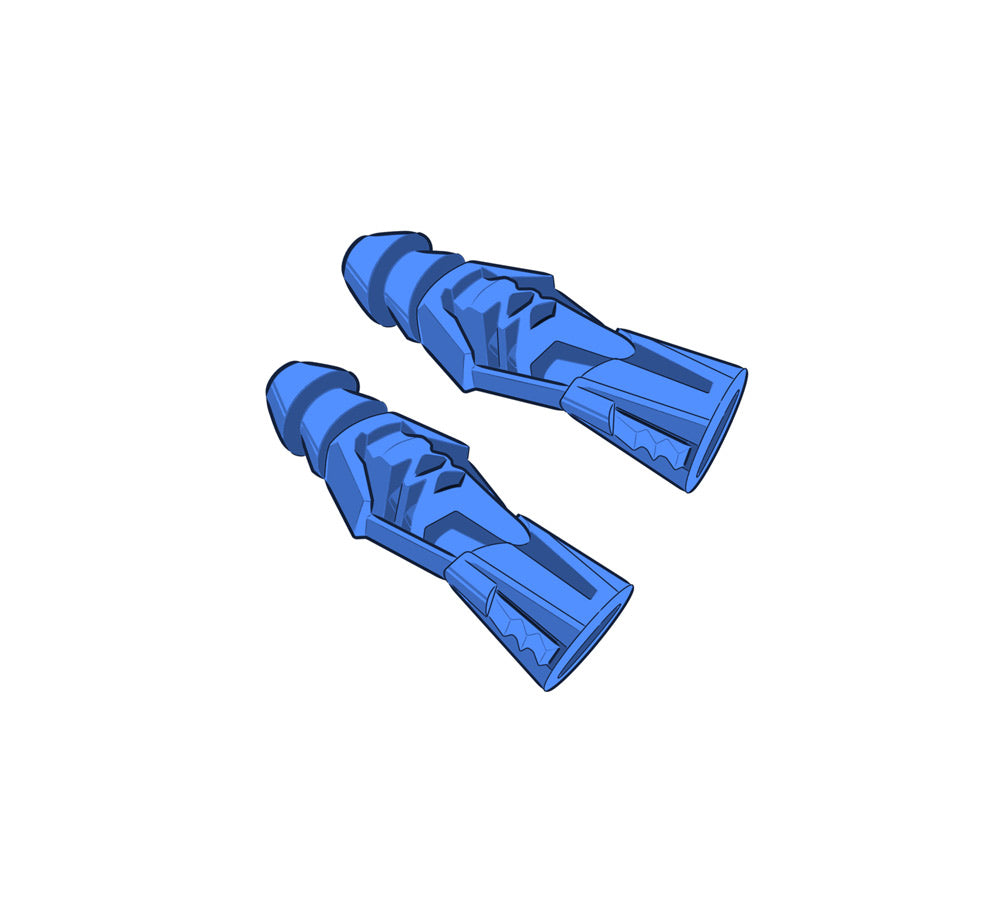
If you drilled holes, insert the anchors from your box into the holes to give you something to screw into.
Note: This doesn't apply to MTB CLUGs as we don't recommend installing your MTB into hollow drywall. You should always be installing your MTB directly into a solid support such as a stud, beam or masonry.
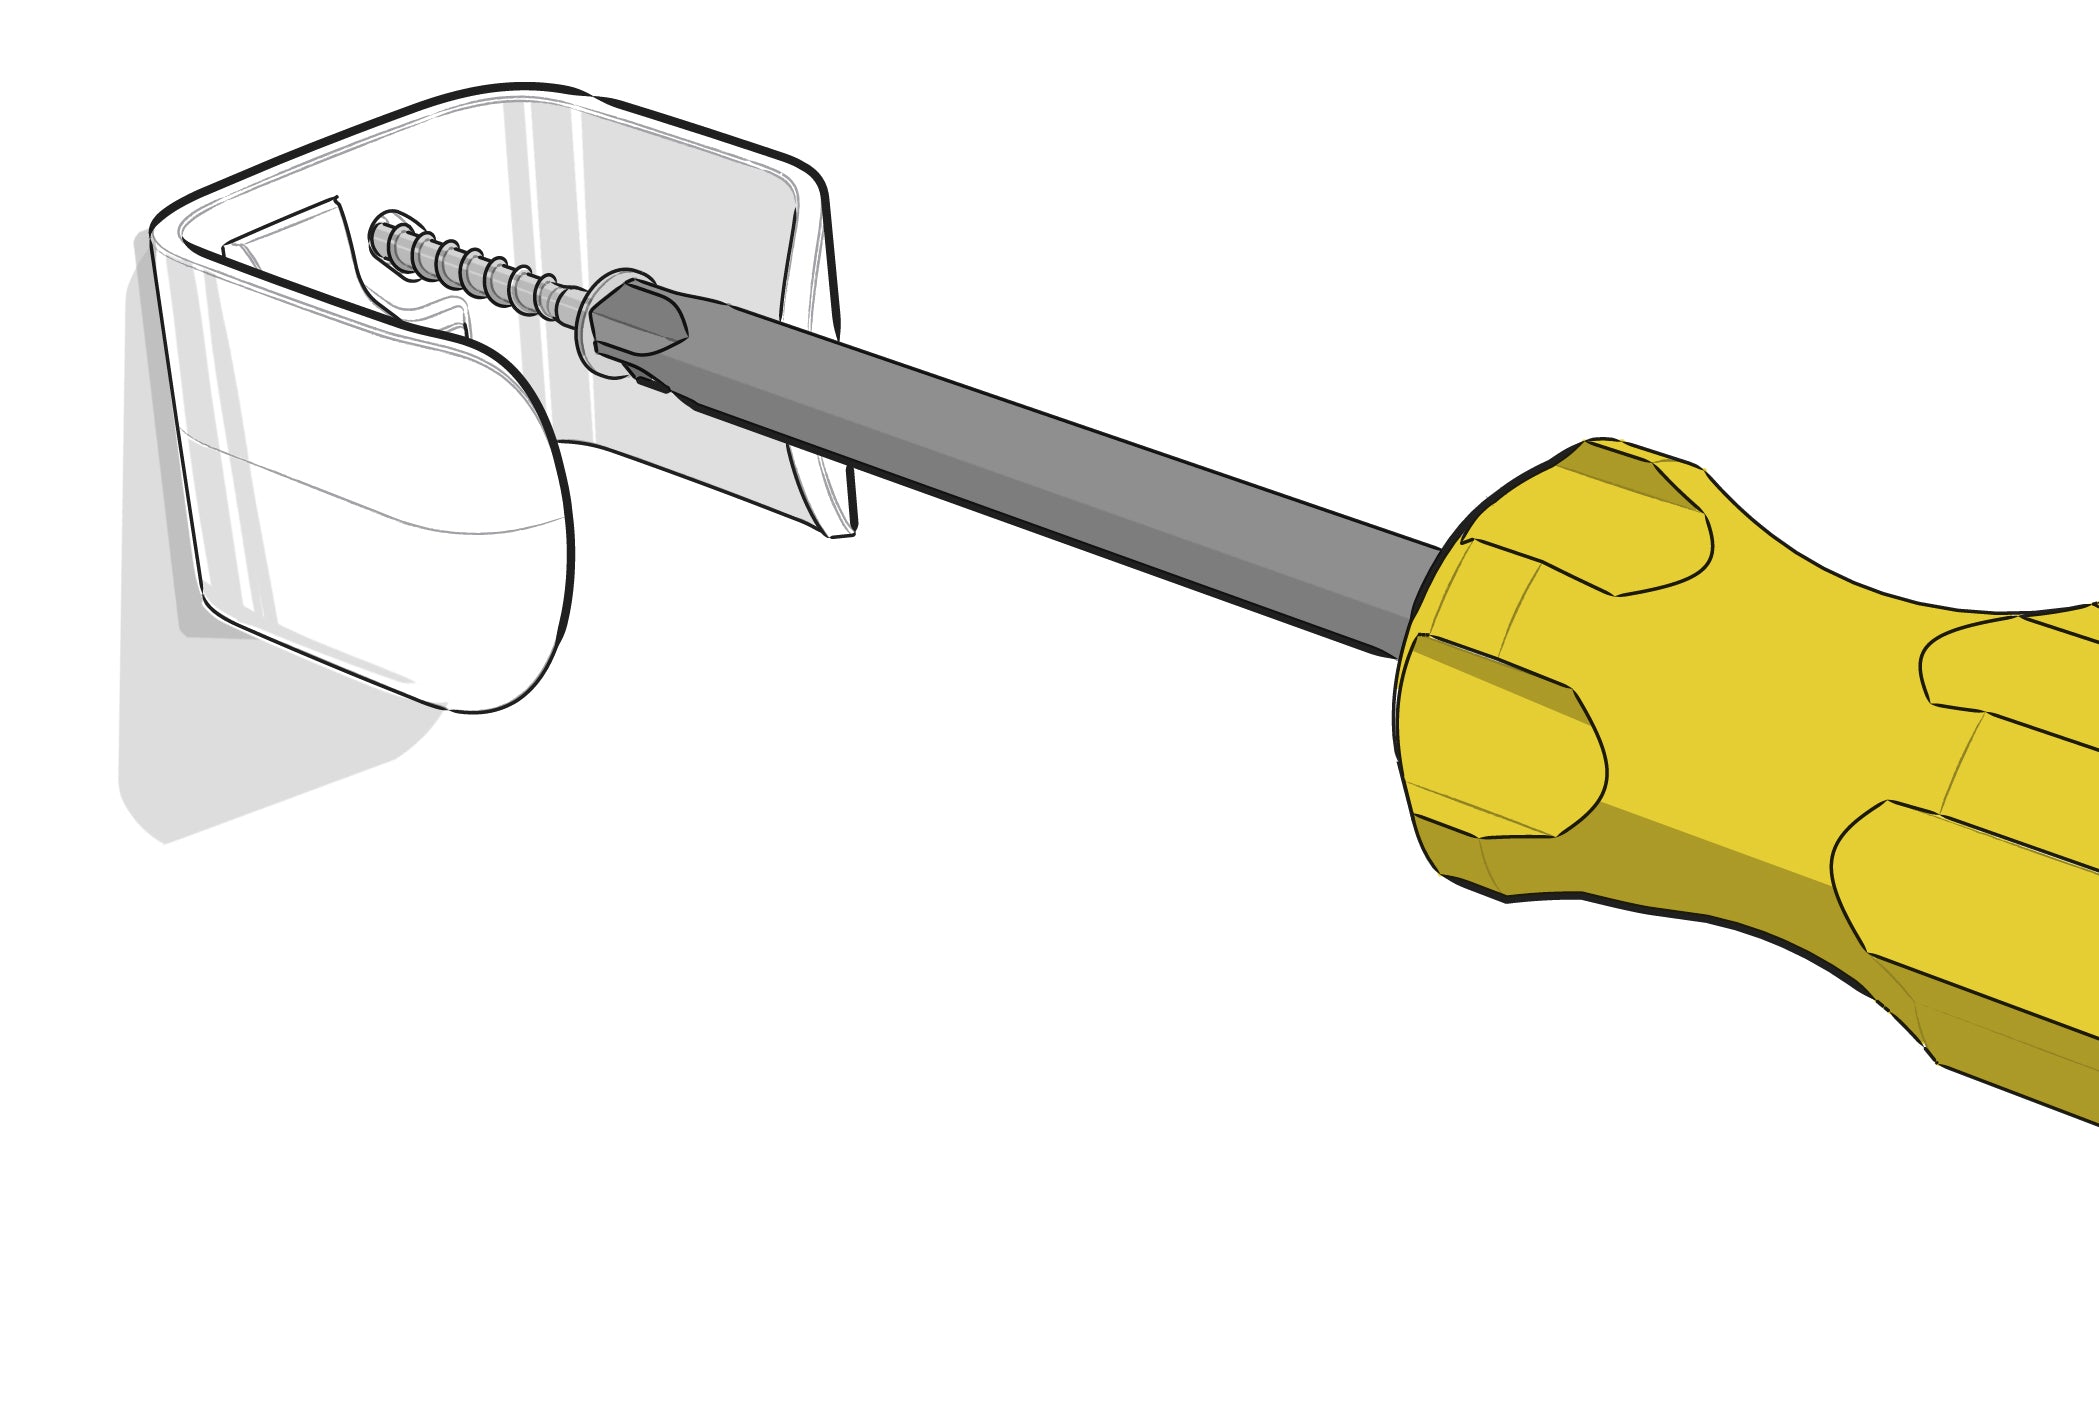
Separate the Clipper from the Gripper and screw the Clipper into the wall.
You'll be able to make small adjustments before you tighten the screws fully, to make sure that your CLUG is level.
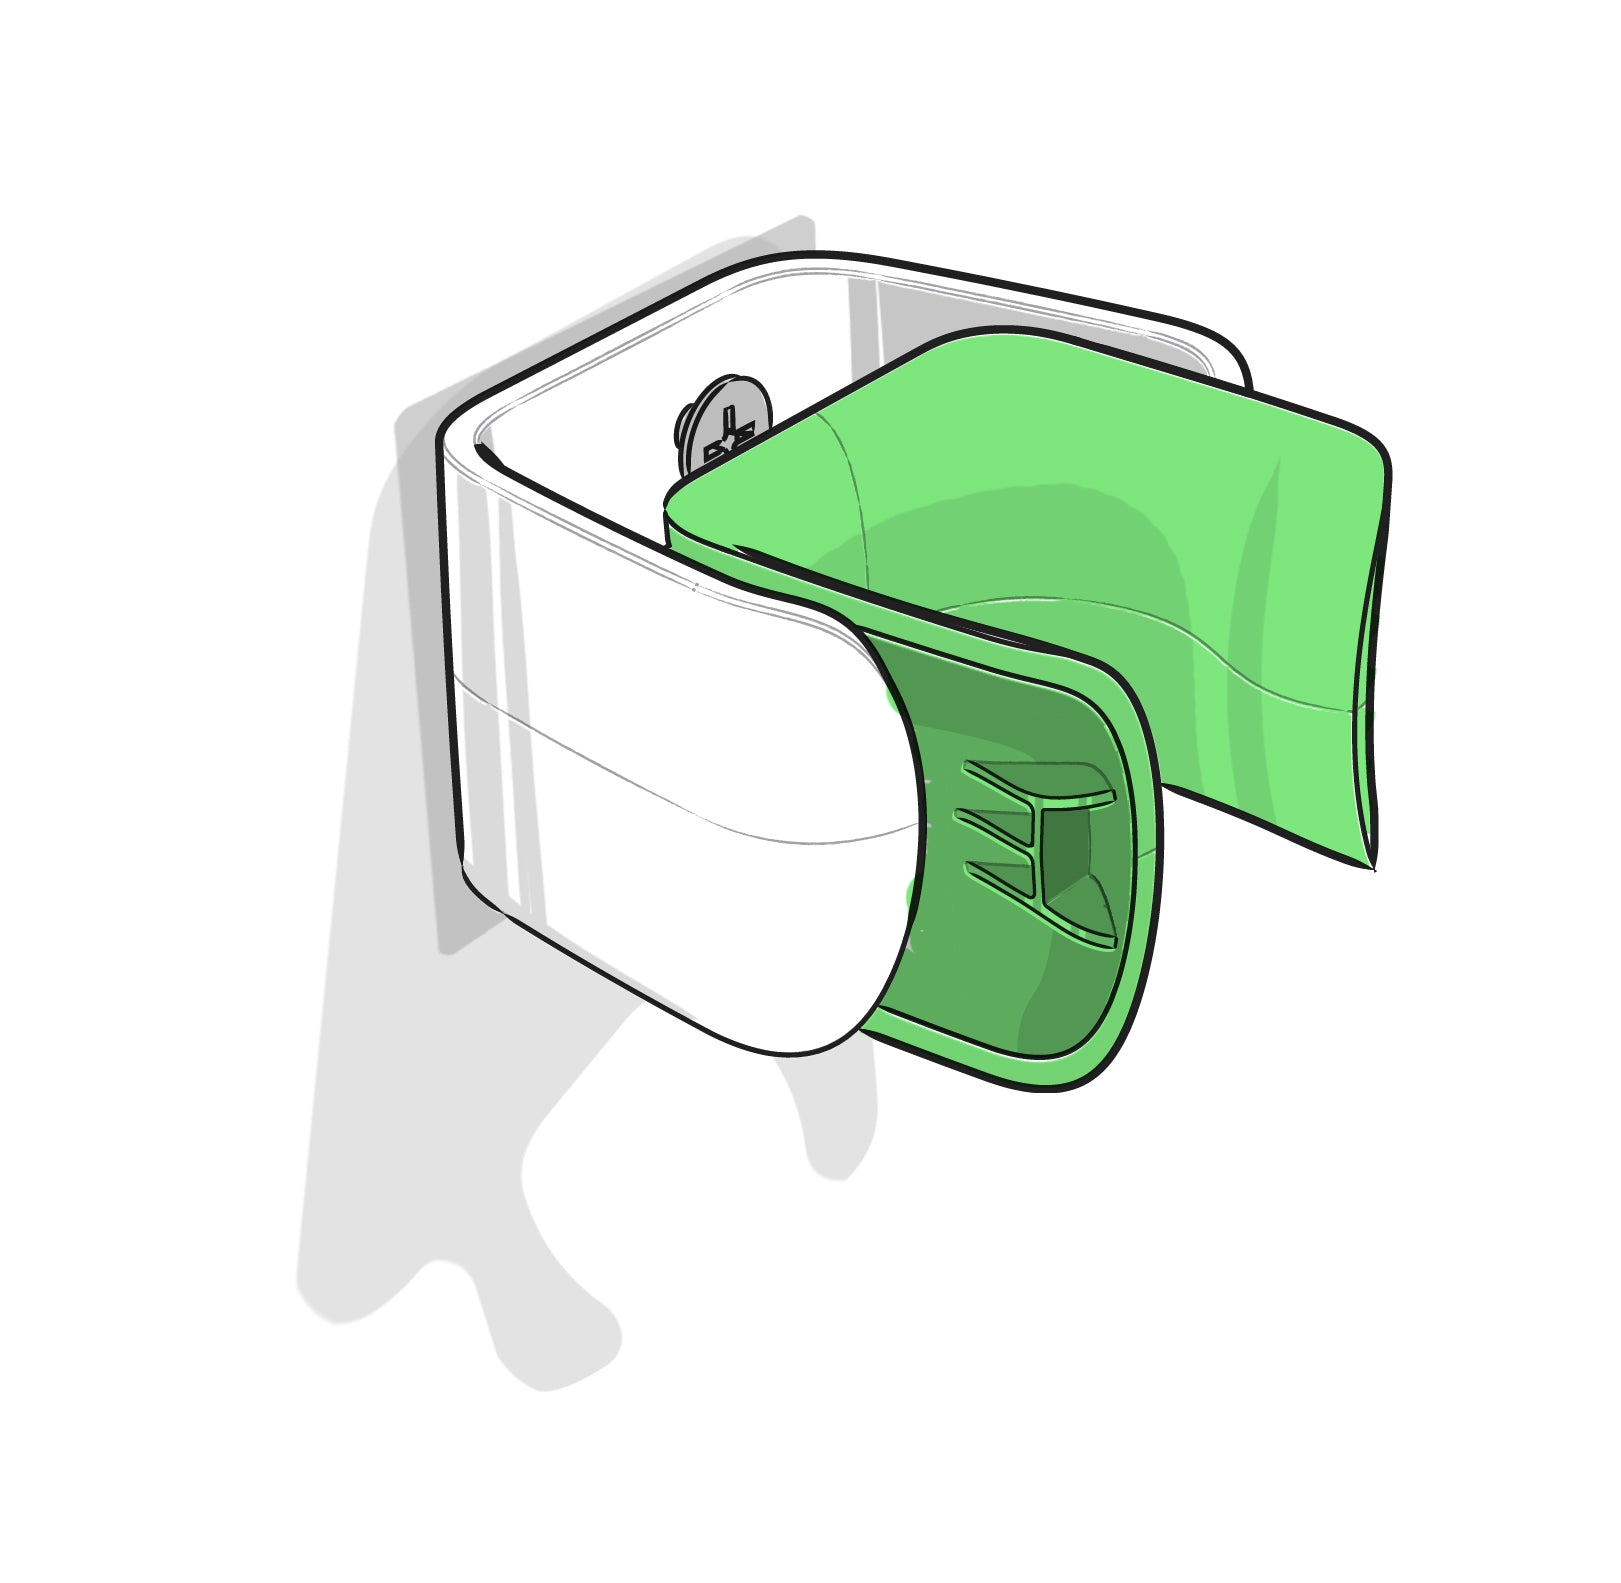
Snap the Gripper in to cover the screw heads, and you're ready to CLUG!
If you need to take it off again, don't worry, you can take the Gripper out to get to the screws. It takes a little force, but don't be afraid to stretch it a little. CLUG can take it!

Here are our recommendations for best results printing your CLUGs at home.
For the sake of these instructions, we assume you'll be using a Makerbot or similar printer, but as we all know there are as many types of 3D printers as there are flies in my soup (a lot), so please extrapolate as appropriate for the printer you have available.
Import the .stl files into your slicing software.

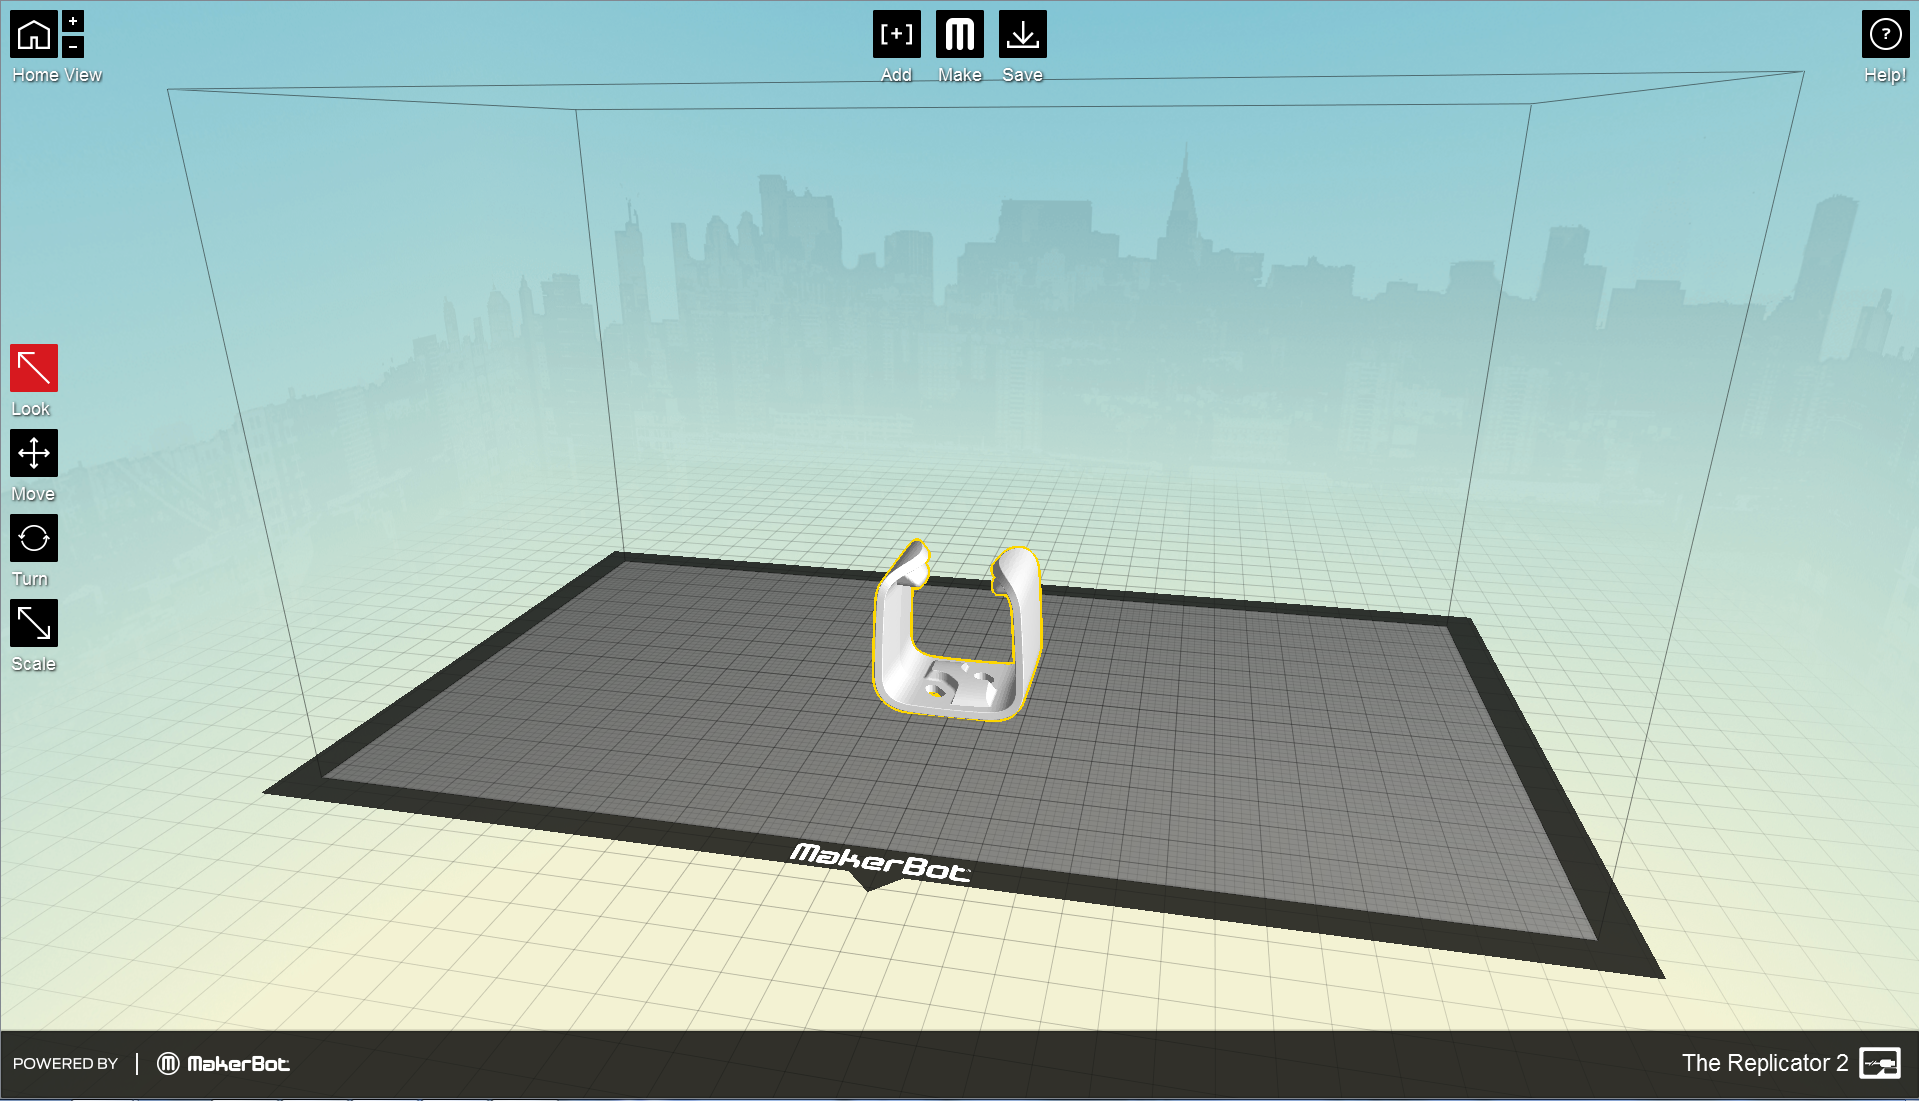
Rotate the parts the same way as they would be on the wall. Printing in this orientation is the strongest and it is self supporting, so you won't have to trim off any pesky support material.
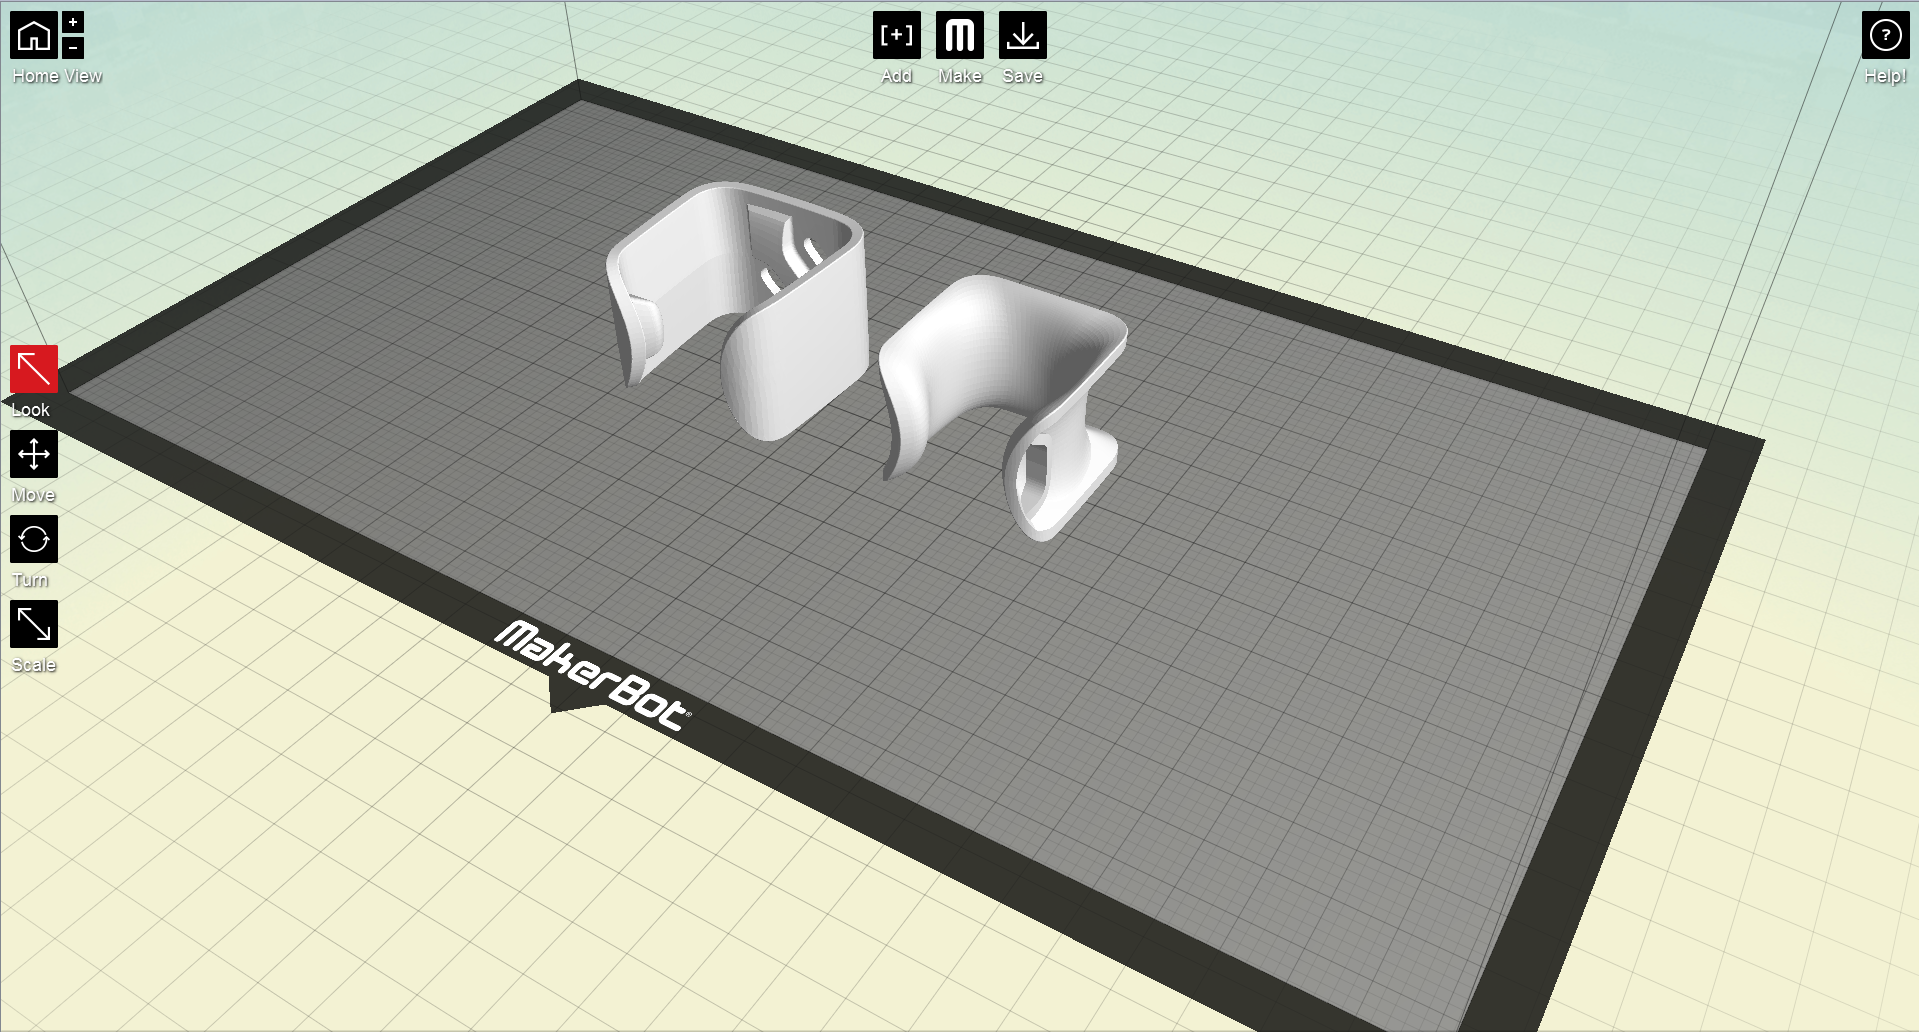
If you're printing CLUG all in one colour, place both parts in there at once and you're ready to print.
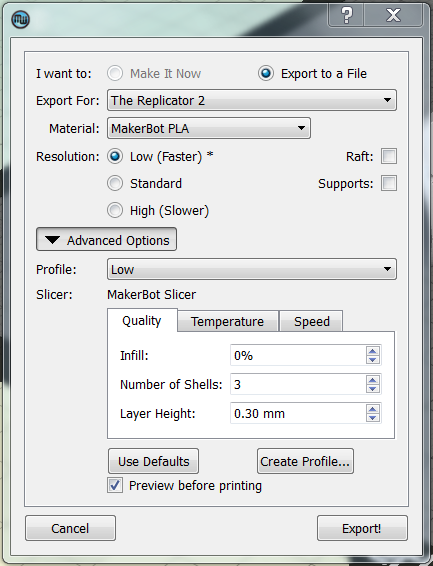
We print CLUG in low resolution (0.3mm) for thicker, stronger layers. No infill is needed, but you should print with a minimum of 3 shells for maximum strength.
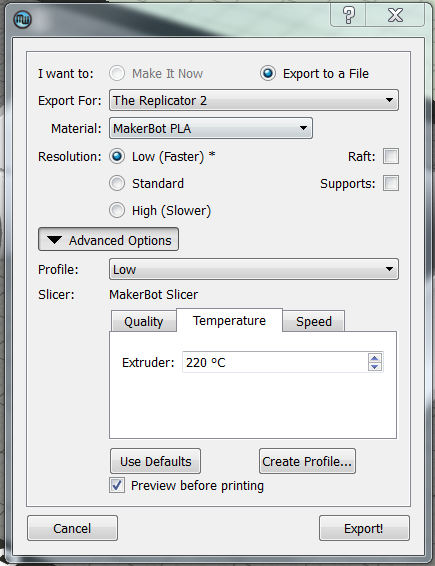
220o C works well for the PLA we use.
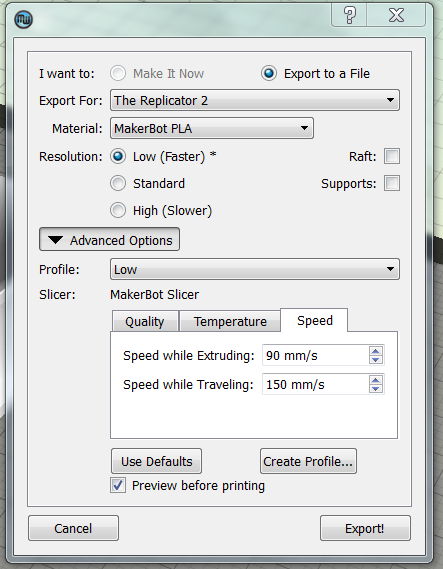
We try not to rush it so we use the default speed settings as well.
Transfer the files to your printer and watch your CLUGs appear before your eyes.
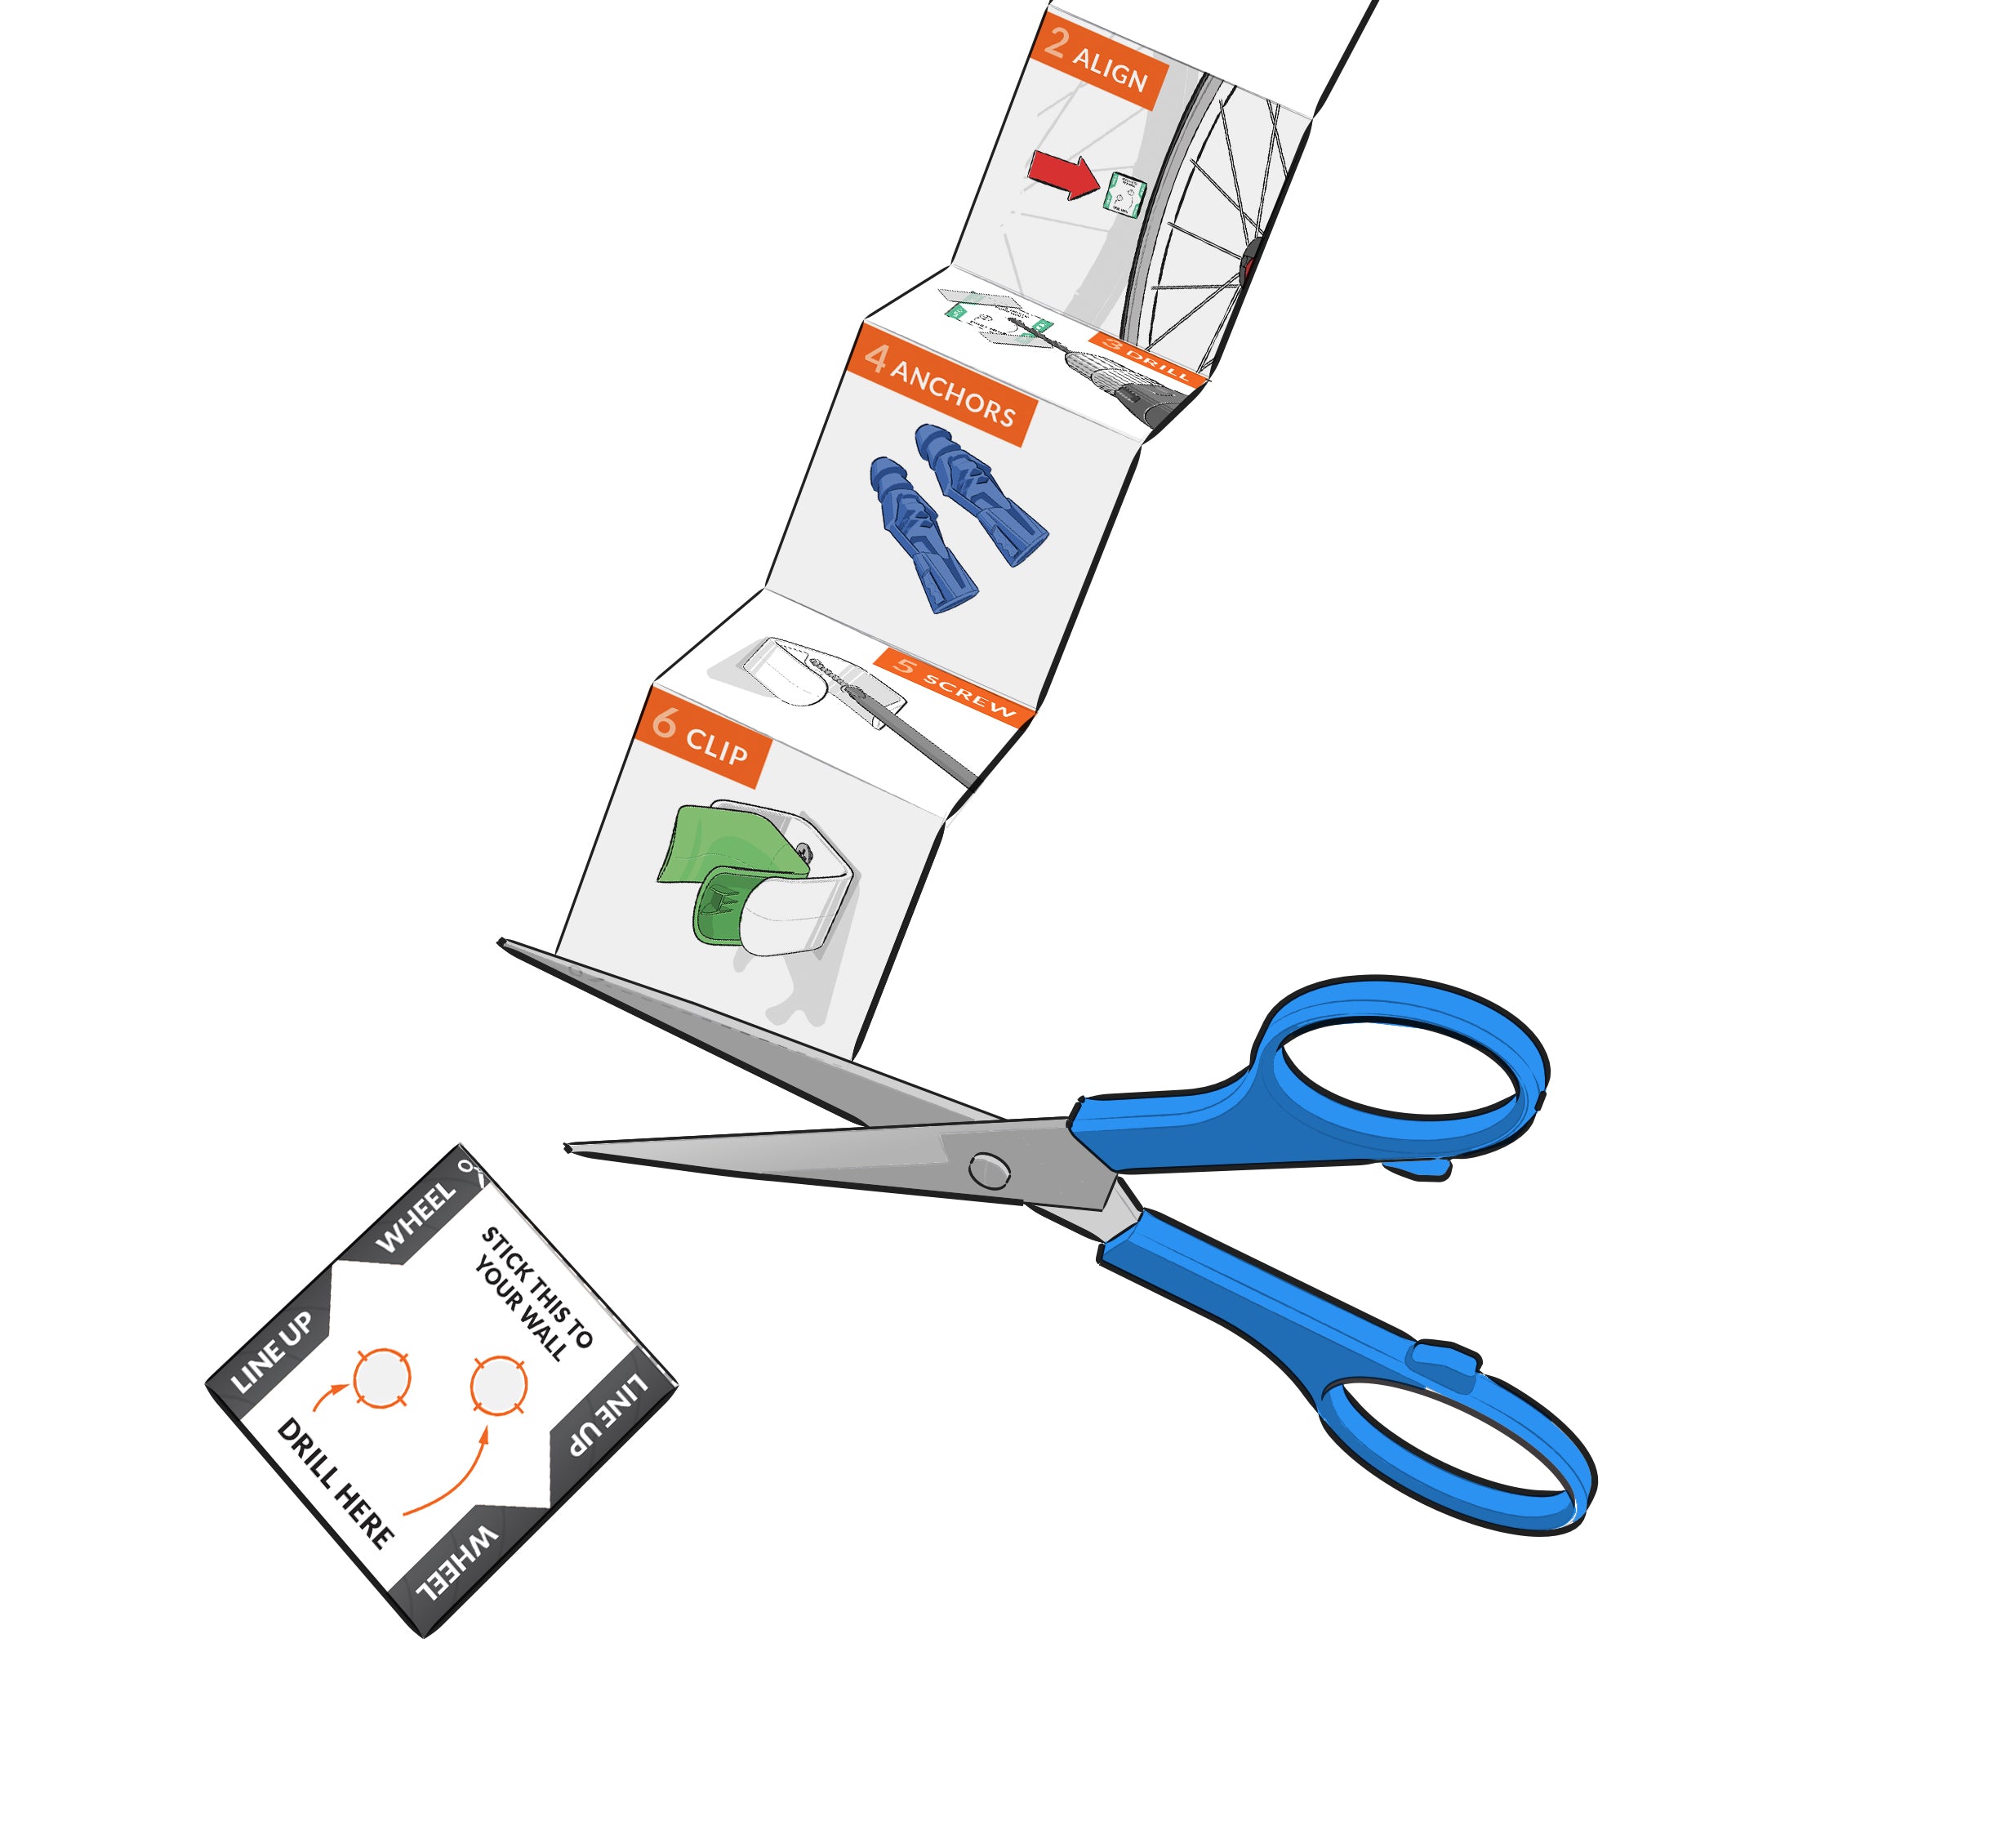
Cut out the tire measurement guide and the alignment guide.
Not sure if your tires will fit in the earlybird CLUG? Use the measurement guide to check that your tires will fit. If they don't - don't fret, all is not lost. Consider using it in other ways - CLUG can be so many things, such as:
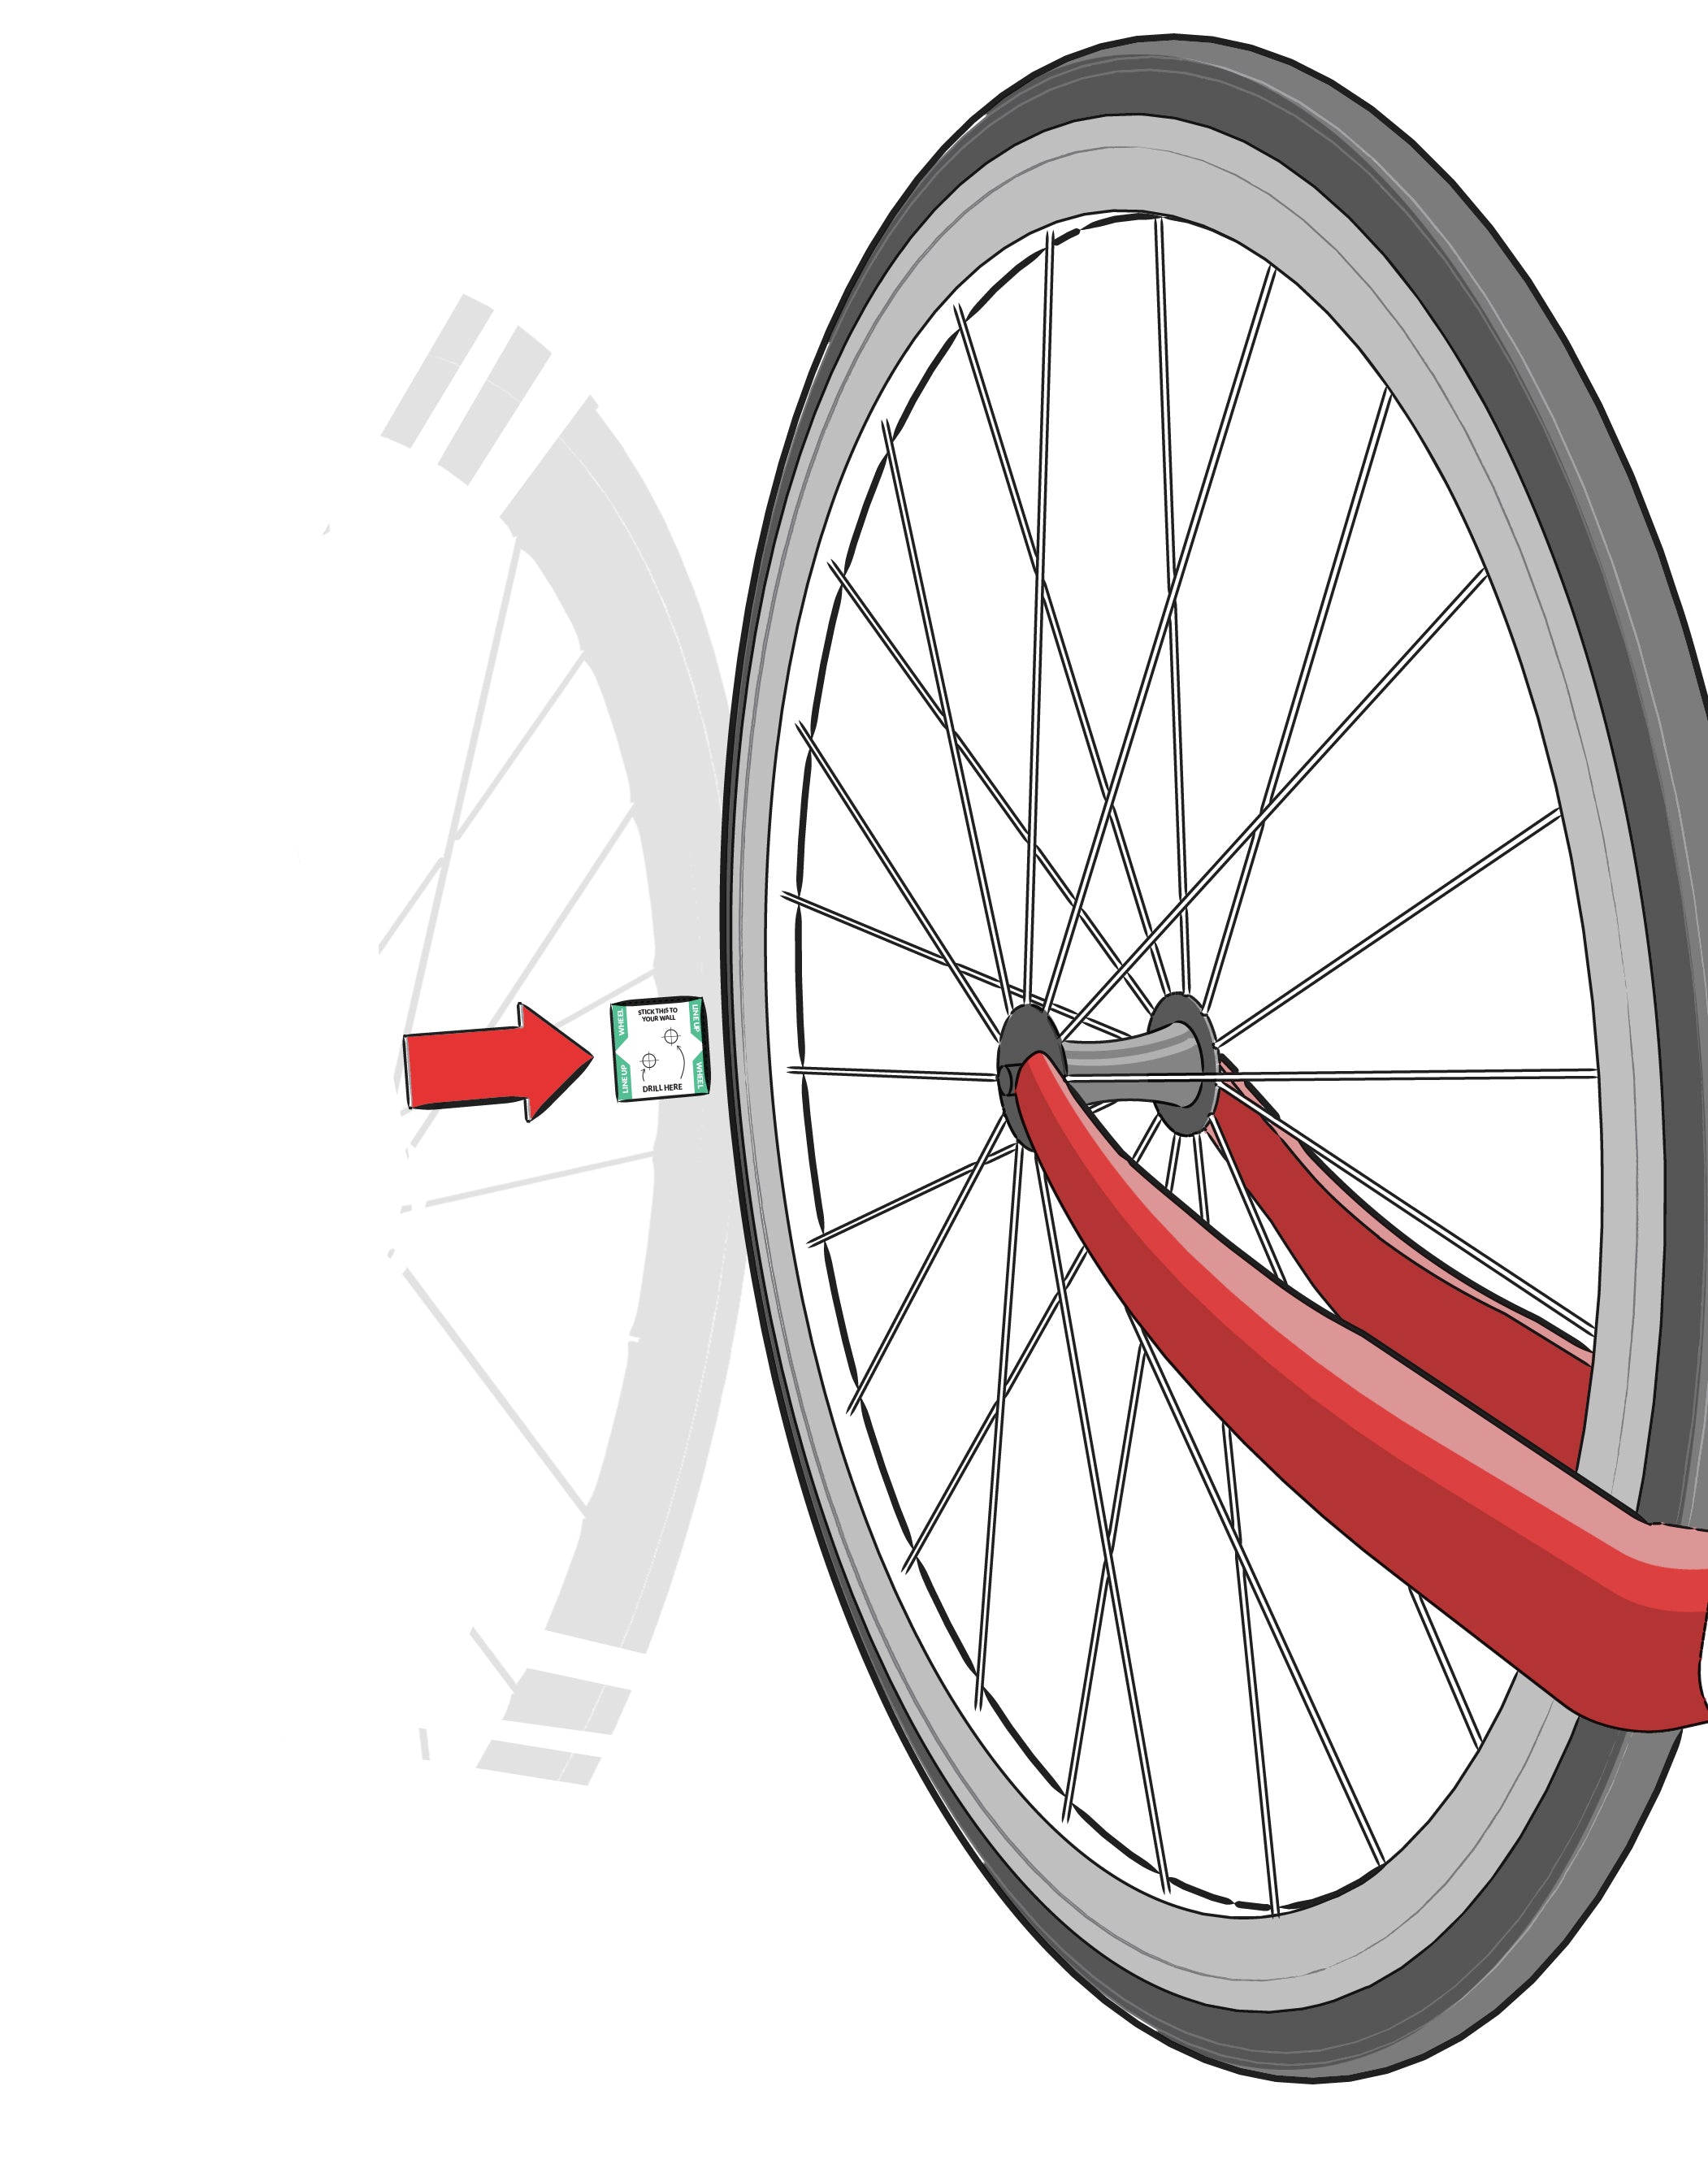
Time to figure out where your CLUG is going. Once you've found your section of the wall, you can use the alignment guide on the box to get your hole spacing marked precisely.
Holding your bike in the position you want it (you can get a friend to help here), you'll want to align the position of your CLUG with the centre of your wheel, where the tire touches the wall.
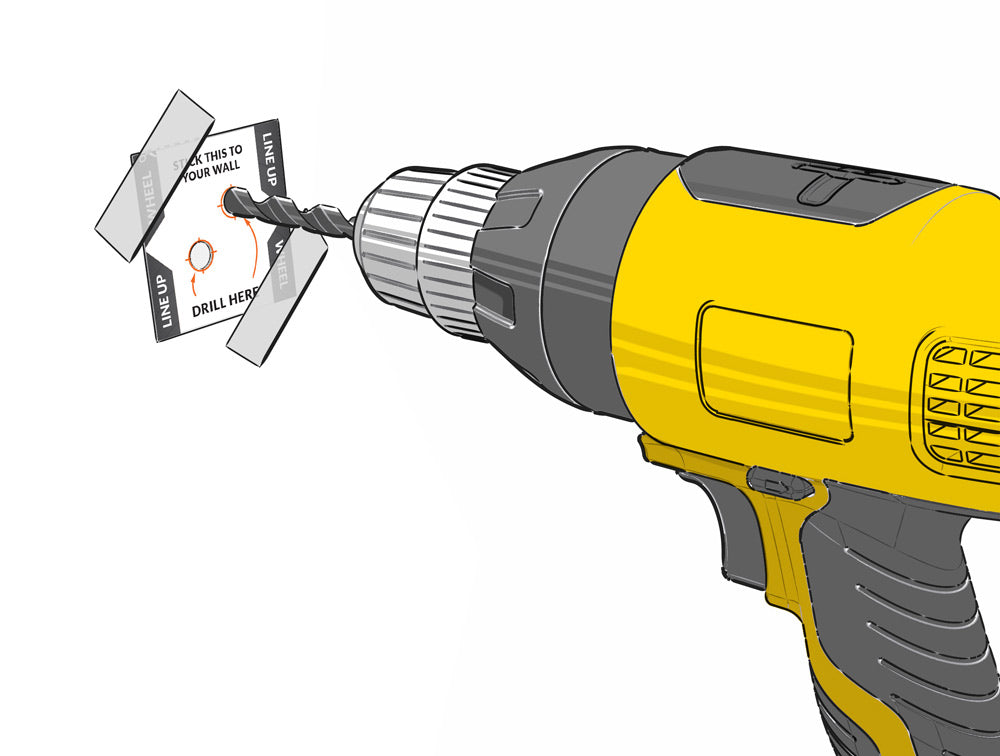
You'll need to drill some holes if you are putting CLUG on anything other than wood surface (or a stud in the wall) (no, not that kind of stud).
To drill, just stick your template lightly to the wall and drill right through the guide.
If you drilled holes, insert the anchors from your box into the holes to give you something to screw into.
Separate the Clipper from the Gripper and screw the Clipper into the wall.
You'll be able to make small adjustments before you tighten the screws fully, to make sure that your CLUG is level.
Snap the Gripper in to cover the screw heads, and you're ready to CLUG!
If you need to take it off again, don't worry, you can take the Gripper out to get to the screws. It takes a little force, but don't be afraid to stretch it a little. CLUG can take it!